| |
|
|
Burning Your ImageBURNING IMAGE FILES.
A. Now we have created an image file and we are going to burn it to a CD-R
1.- First you need to select "Image Burning Wizard"

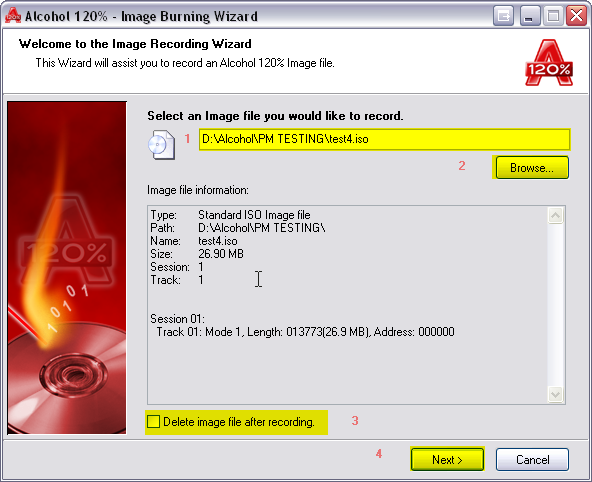
B.The next screen to pop up is where we select the image file we want to burn.
1.- This will be the path and name of the image file you will burn, by default, the last image file created will appear
2.- If necessary you can chose the browse button to locate your image
3.- If you wish to delete the file from your hard drive after recording you should check this box.
4.- If all is correct click on the "Next" button
C. If you chose the "Browse" button the following screen will pop up.
1.- You can move around partitions and directories, and select the image file you want.
2.- You can specify what type of image file are you looking for it, by default are all compatible image types 
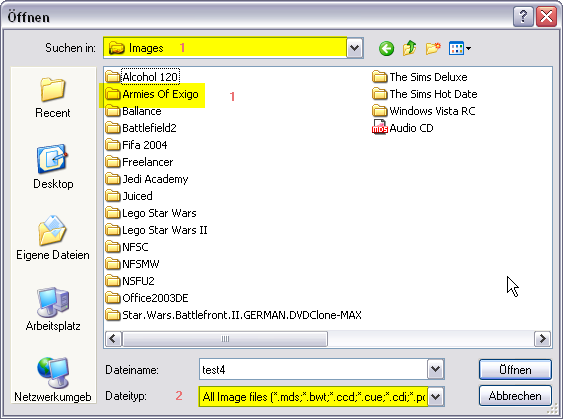
3.-If your image is in a directory on your hard drive double click the folder to open it and select your image
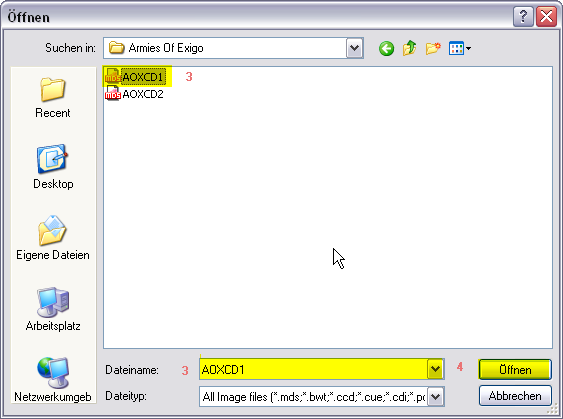
4.- Select “Open” when you have the image you want to burn. This will take you back to screen B. click the NEXT button.
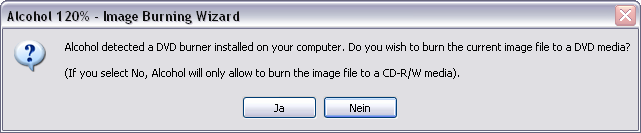
If Alcohol detects a DVD Burner and you insert CD blank media you will asked wether or not you wish to burn your Image to DVD blank media
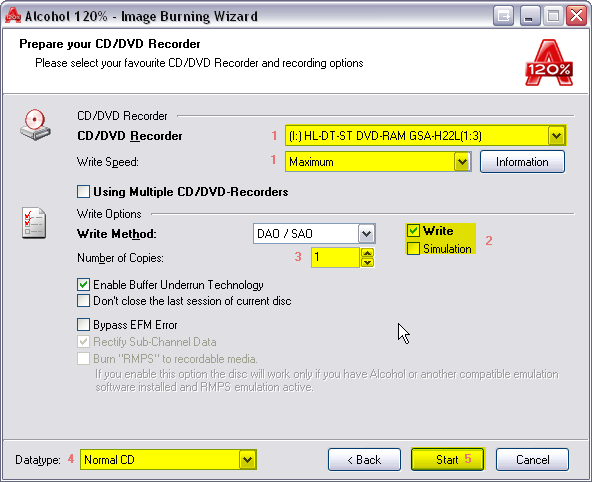
D. Options and specifications to burn our backup..
1.- Select your recorder (if you have more than one) and also the writing speed.
2.- Enable Writing and/or writing and Simulation. Not all drives support simulation, if yours does and you want to simulate the burn this can save you wasting a CD-R if the simulation fails.
3.- Do you want to make one backup? Maybe two ??
4.- Select the same datatype of reading to have a good backup!! Depending the datatype you will have different options checked. in this case our image was of a Safedisc protected CD, so we chose this data type
5.- Now we can click "START" to start burning our backup!!
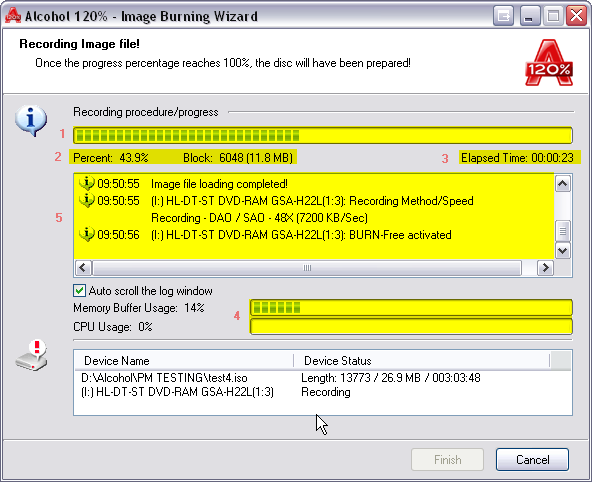
E. During the Burning Process
1.- Progress Percent of burning. To have an estimated information of the progress of your burning.
2.- The speed that you are recording at.
3.- Elapsed time of burning this image.
4.- Information about Buffer and CPU usage (Memory Buffer is good to be at 99/100%)
5.- Information about “what is happening” during the burning process... to keep you informed )
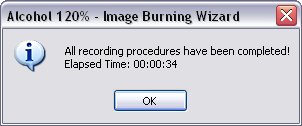
F. Here you have finished to burn your CD (or your simulation). The only information is the elapsed time... Click OK button.
F. What we have when the burning process is burn finished.
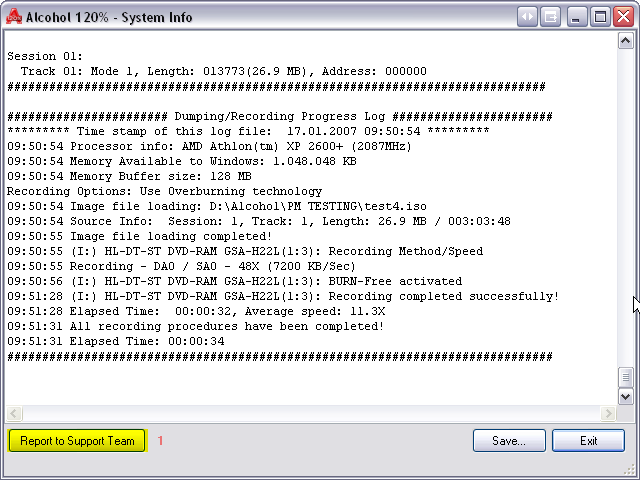
1.- You can view the log of the burn process... could be a waste of time if burning process was correct... but if the burn failed, here you can see what happened, and send a report log to Alcohol 120% Software developer 1 Image A.
3.- You can click Finish button directly if “View log” and “Performance Graphic” doesn’t interest you... then you will return to main Alcohol Window.
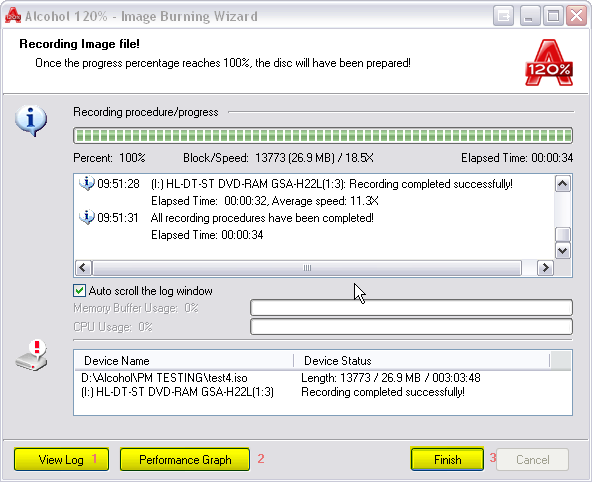
Image A.
|
|
| |
|